Table of Contents
Introduction
The goal of this template is to provide a nice-looking slideshow layout, easy to configure and fill in.
Here is an example preview of the heading page and outline:
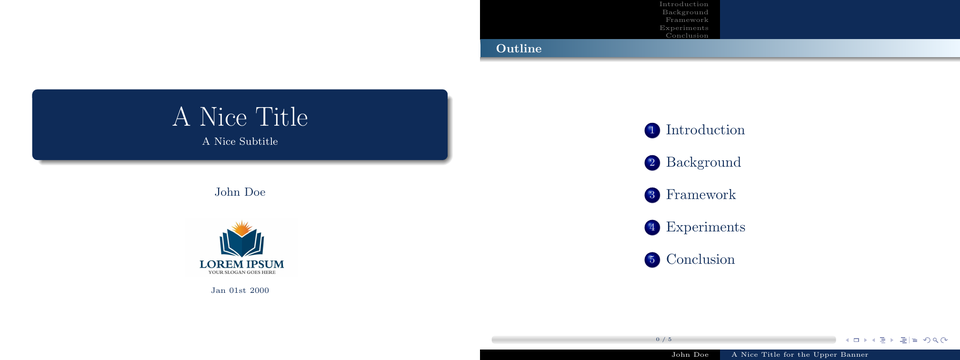
Preview image generated with this tool
Here is an example preview of some content slides:
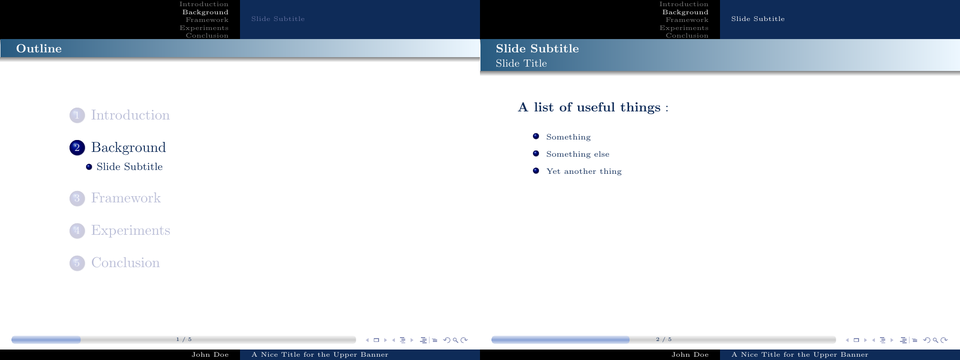
Preview image generated with this tool
Here is an example preview of some reference and appendix slides:
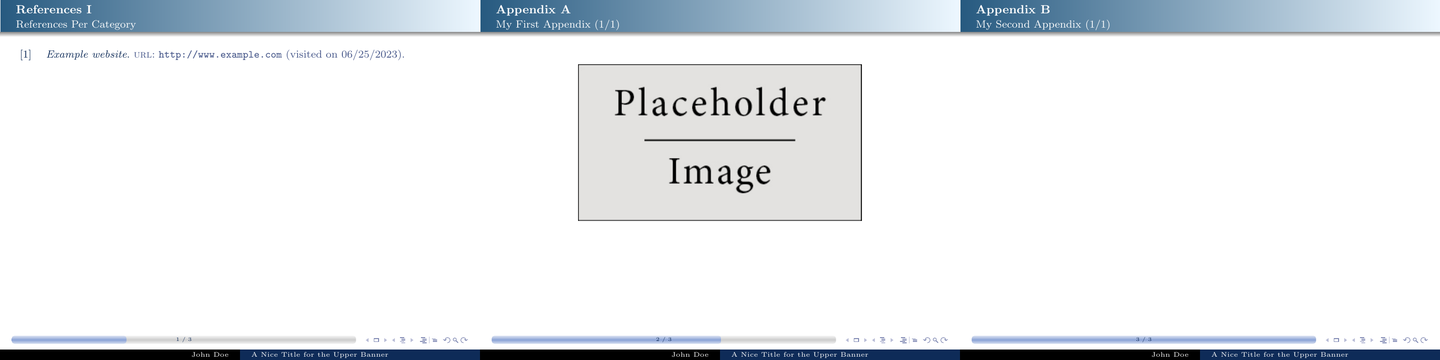
Preview image generated with this tool
Structure
The template is structured in the following way:
main.tex: This is the main TeX file to be compiled. Here you can include sections, parts and appendices and also configure some settings (i.e. title, author and so forth).figures: This folder is aimed to contain the figures (that is, the pictures to be captioned that are included in the list of figures).icons: This folder is aimed to contain icons that are used without captions, e.g. these included in slide objects.logos: This folder is aimed to contain logos from the university, e.g. for use on the heading slide.parts: This folder contains every part other than sections (i.e. appendix and reference slides), one TeX file for each of them, to be included inmain.tex. It also containsbibliography.bib(in BibTeX format) to be used inreferences.texof this folder.sections: This folder contains the sections, one TeX file for each of them, to be included inmain.tex.styles: This folder contains the styles for defining the layout (imported inpresentation.styof this folder). Most of the included one should not be edited.
Compilation
The compilation can easilly be configured in Texmaker by defining a Quick Build Command:
- Go to the menu Options
- Select Configure Texmaker
- Go to tab Quick Build
-
In the field User : (…), replace the command with:
pdflatex -synctex=1 -interaction=nonstopmode %.tex|bibtex %.aux|pdflatex -synctex=1 -interaction=nonstopmode %.tex|pdflatex -synctex=1 -interaction=nonstopmode %.tex - Then click OK
When editing the slideshow with Texmaker:
- Open
main.tex - Go to the menu Options
- Select Define Current Document as “Master Document”
- Open any other file than
main.texfor edition - Click on Quick Build to compile
This will produce main.pdf with all the included sections, parts and appendices, just like if the focus was on main.tex.
Making your slideshow
This template is based on LaTeX Beamer. For standard documentation about environments and commands, please refer to its documentation.
Adapting the heading slide
You should start this by setting the base information in main.tex. This includes the PDF, title, subtitle, author, institute and date information.
You can then start making the slideshow.
Tuning parts
This template includes predefined part files of the slideshow that should be filled in progressively as you produce content.
Parts that you should adapt:
parts/appendices.tex: here you can define custom appendix slides with theappframeblock, setting a title and identifier for cross-reference in slides.parts/bibliography.bib: bibliography entries in BibTeX format.parts/hyperlinks.tex: here you can define hyperlinks to be used in slides with command\newhyperlink{ID}{mouseover-title}{URL}.parts/references.tex: here you can add reference slides with command\refframe{title}{keyword-used-in-bib}where keyword-used-in-bib corresponds to a keyword set in thekeywordsattribute of BibTeX references frombibliography.bib.
Adding sections
This template uses sections with the usual \section{MyTitle} command that yields an outline slide. However, this can be customized adding an image and/or an italic text on the right part.
This can be defined as follows:
- Outline image: put the image in the
figuresfolder with a filename starting withoutline-and the name of the section (for the current example, thenfigures/outline-MyTitle.png). - Outline text: put the text file in the
figuresfolder with a filename starting withoutline-and the name of the section (for the current example, thenfigures/outline-MyTitle.txt).
Adding slides
Slides are split into 2 main parts:
- Body: this contains normal slides, composing the body of the slideshow, with a first progress bar.
- Appendices: this contains reference and appendix slides allowing to include alternative content in support of the body, with a second progress bar.
The custom frame style defines 4 types:
myframe: stands for a content slide (sorted in the main body of the slideshow) with a title and subtitle that is defined as an environment (using\beginand\end). It also includes in an upper banner the sections and subsections, including links to the related slides, for easy navigation.questionframe: this can be invoked to add a question slide where required, typically in thesections/conclusion.tex.appframe: stands for an appendix slide (sorted in additional slides after references) with a title and subtitle that is defined as an environment (using\beginand\end), automatically assigning appendix uppercase letters. This type of slide does not contain the upper banner with the section and subsection links for sparing space while providing alternative content.refframe: stands for a references slide (sorted in additional slides after the conclusion, restarting the slide counter and progress bar) with a title that is defined as a command (using\refframedirectly and NOT block begin-end) and that sorts cited references fromparts/bibliography.bibbased on thekeywordsattribute from BibTeX entries.
The template (defining frames in styles/customframe.sty) also provides a few useful additional commands:
appref: this allows to display a help icon in the upper right corner under the subtitle of a slide that provides a link to the referenced appendix.appret: this allows to display a backward icon on an appendix slide to go back to a referenced slide (as of the identifier defined in themyframeblock).framelogo: this sets a comma-separated list of logos to be displayed in the upper right corner in the title banner according to the following format:{URL}/image-filename-in-logos-folder.timeline: this is set by defining a start year (by default, 2000) and then providing years that are to be highlighed, one per slide.
Custom objects
A few custom blocks are defined for convenience and may regularly be used:
myblock: this defines a grey frame with rounded corners, a shadow and a label above.myblock2: this defines a text area (a block with no style).twocolumnsblock: this defines two blocks aside, without an area to separate them.twocolumnsblocksep: this defines two blocks aside, with an area (with width 15% of\linewidth) to separate them.
Related Projects
You may also like these:
- TeX Book Template: A template for writing a nice book with LaTeX.
- TeX Cheat Sheet Template: A template for creating a nice cheat sheet with LaTeX.
- TeX Course Index Template: A template for writing a condensed course index leveraging LaTeX indexing.
- TeX Master Thesis Template: A template for writing a nice master thesis dissertation with LaTeX.
- TeX Poster Template: A template for creating a nice scientific poster with LaTeX.